Print a label for a single copy (Textbook Manager)
Destiny Textbook Manager lets you print labels when adding a new copy or replacing a damaged barcode. You can print one or more labels for the same copy.
| Example: You print two copies of a barcode. Place one on the back cover, and one on the inside of the front cover. Then, if the outer barcode is lost or damaged, there is still a barcode available. |
|
Notes: |
Barcode labels contain the copy's scannable barcode, barcode number, and any of four optional fields:
- Site or district name
- Title (up to 20 characters)
- Author (up to 20 characters)
- Location (up to 30 characters)
|
Important: The first time you print barcodes, test them for usability. |
|
Notes:
|
- Do any of the following:
To print a barcode when adding a new copy... To print a replacement barcode for an existing copy... - Select either Catalog > Textbook Search or Catalog > Add Textbook, and search for the book you want.
- Next to the title of the desired book, click Details.
- Click Add Copies.
- Do any of the following:
- Enter a starting barcode number
- Select Assign next barcode.
- Select the Print labels checkbox.
- Click Save Copies.
- Select Circulation > Copy Status, and search for the textbook you want.
- If more than one match is found, click the barcode next to the desired textbook.
- Click Print Labels.
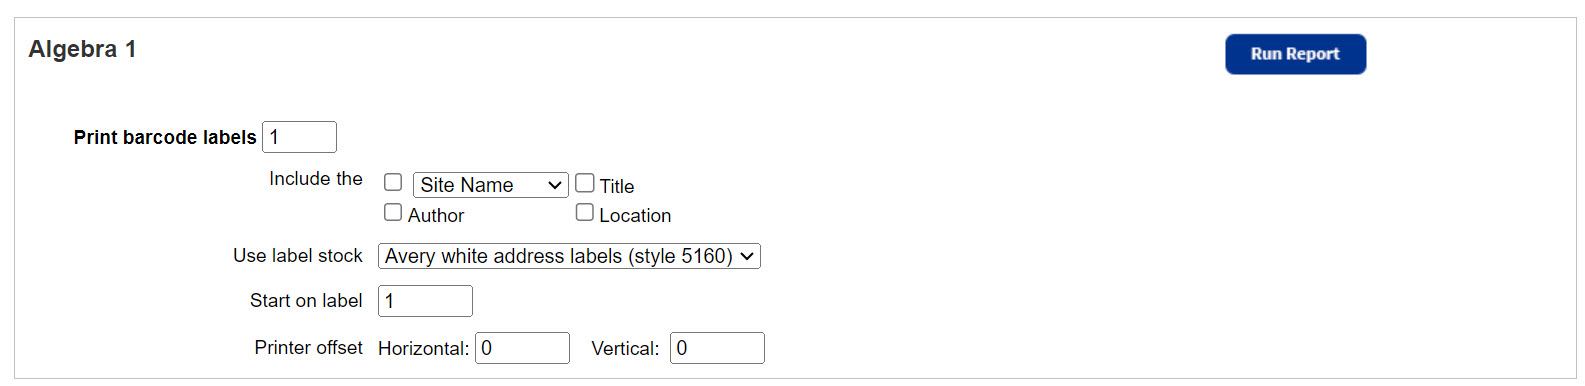
- Use the following table to fill in the fields:
Field
Description Print barcode labels Enter the number of barcode labels you want for this copy.
Include the checkboxes Print additional information on a barcode label. Use label stock Select one of the preloaded label stocks from the drop-down. Start on label Continue using partially-used label sheets by entering the number of the next available label in the Start on label field.
Printer offset Fine-tune the printing alignment on the barcode labels, if necessary. - Click Run Report.
- When the Report Manager opens, click View. The report opens in a browser.
- Do one of the following:
If you want to... Then... Download the label sheet Click  .
.Print the labels - Position the label stock in your printer.
- Click .
- Set the print settings.
Important: Set to:
- Scale at 100%.
- Print on one side.
- Click Print.